Connect Your Data
Connect NQRust Analytics to your own data source.
To move beyond the bundled samples, connect NQRust Analytics to your own database or files. This page covers the first-run flow: opening the UI, signing in, and attaching a data source.
Before you begin
Confirm that NQRust Analytics is installed and running. If it is not, follow the Installation guide first.
Steps
Open the Analytics UI
In your browser, open the following — replacing <server-host> with your server's
IP address or hostname — then sign in:
http://<server-host>:3000Choose a data source
From the project setup screen, select Connect a data source, then choose the type that matches your data:
PostgreSQL, MySQL, BigQuery, Redshift, Snowflake, SQL Server, Oracle, DuckDB, ClickHouse, Athena (Trino), and Trino.
Enter the connection details (host, port, database name, credentials, and any source-specific options). For the exact fields each source requires, see the data source overview.
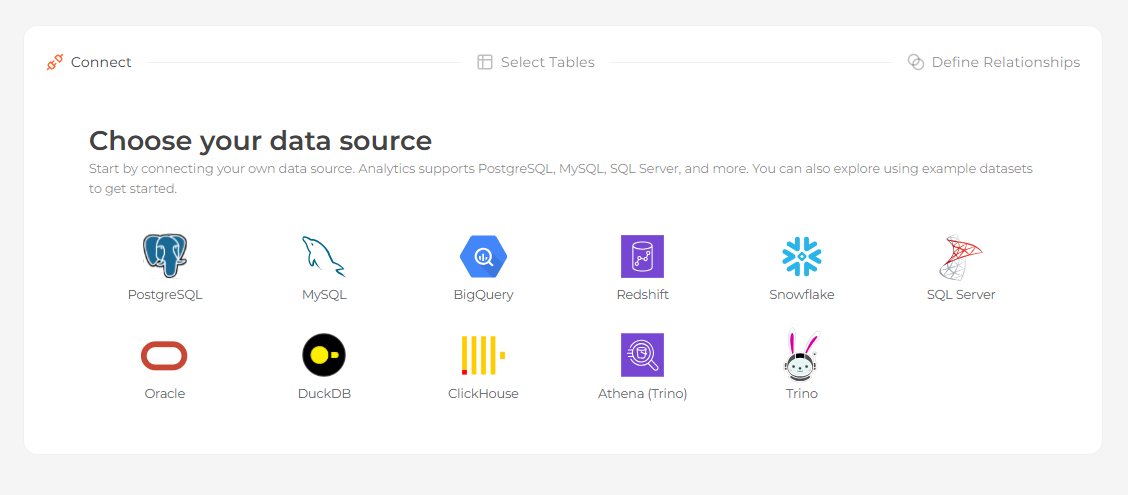 Choosing a data source type on the project setup screen
Select tables
After the connection is validated, select the tables you want to import. Each table you select becomes a data model.
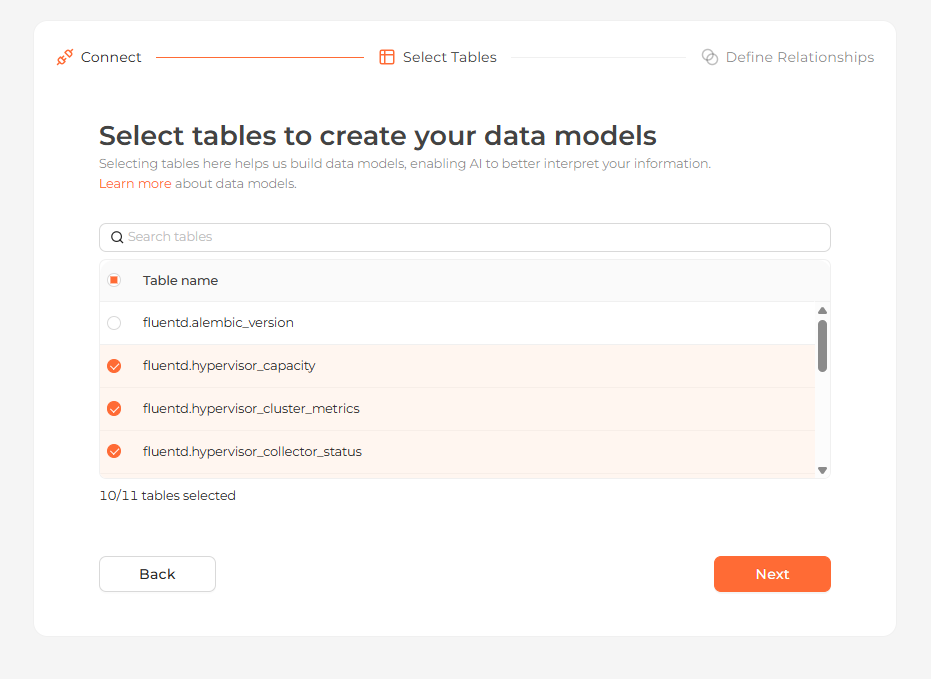 Selecting the tables to import as data models
Define relationships
Declare how the tables relate to one another — for example, a customer having many orders — by setting a From column, a To column, and a relationship type. Clear relationships help the platform generate more accurate queries. You can skip this step and define relationships later.
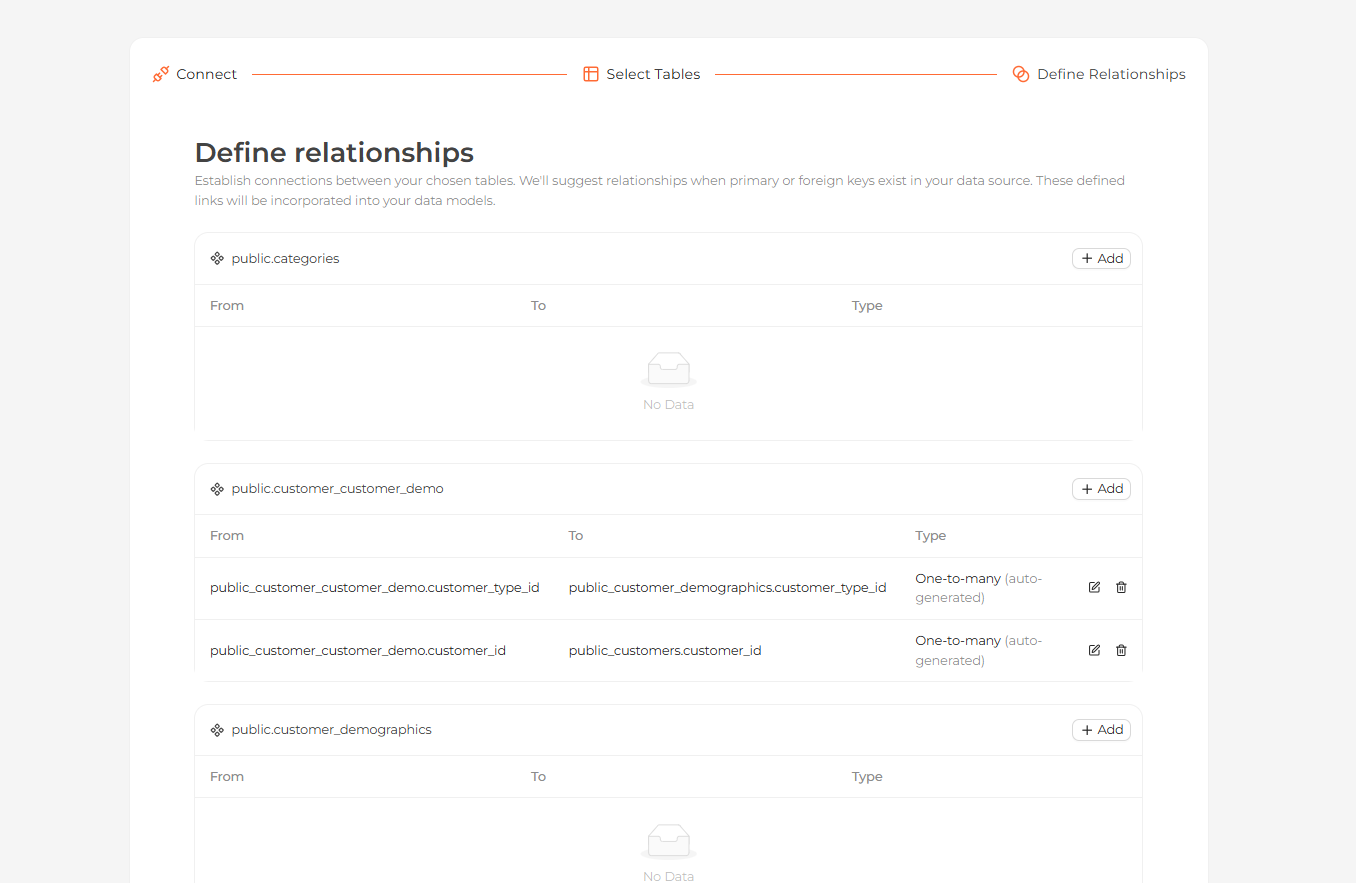 Defining relationships between the imported tables
Start exploring
Your tables now appear on the Modeling page. Open the Home page and ask questions about your data in natural language.
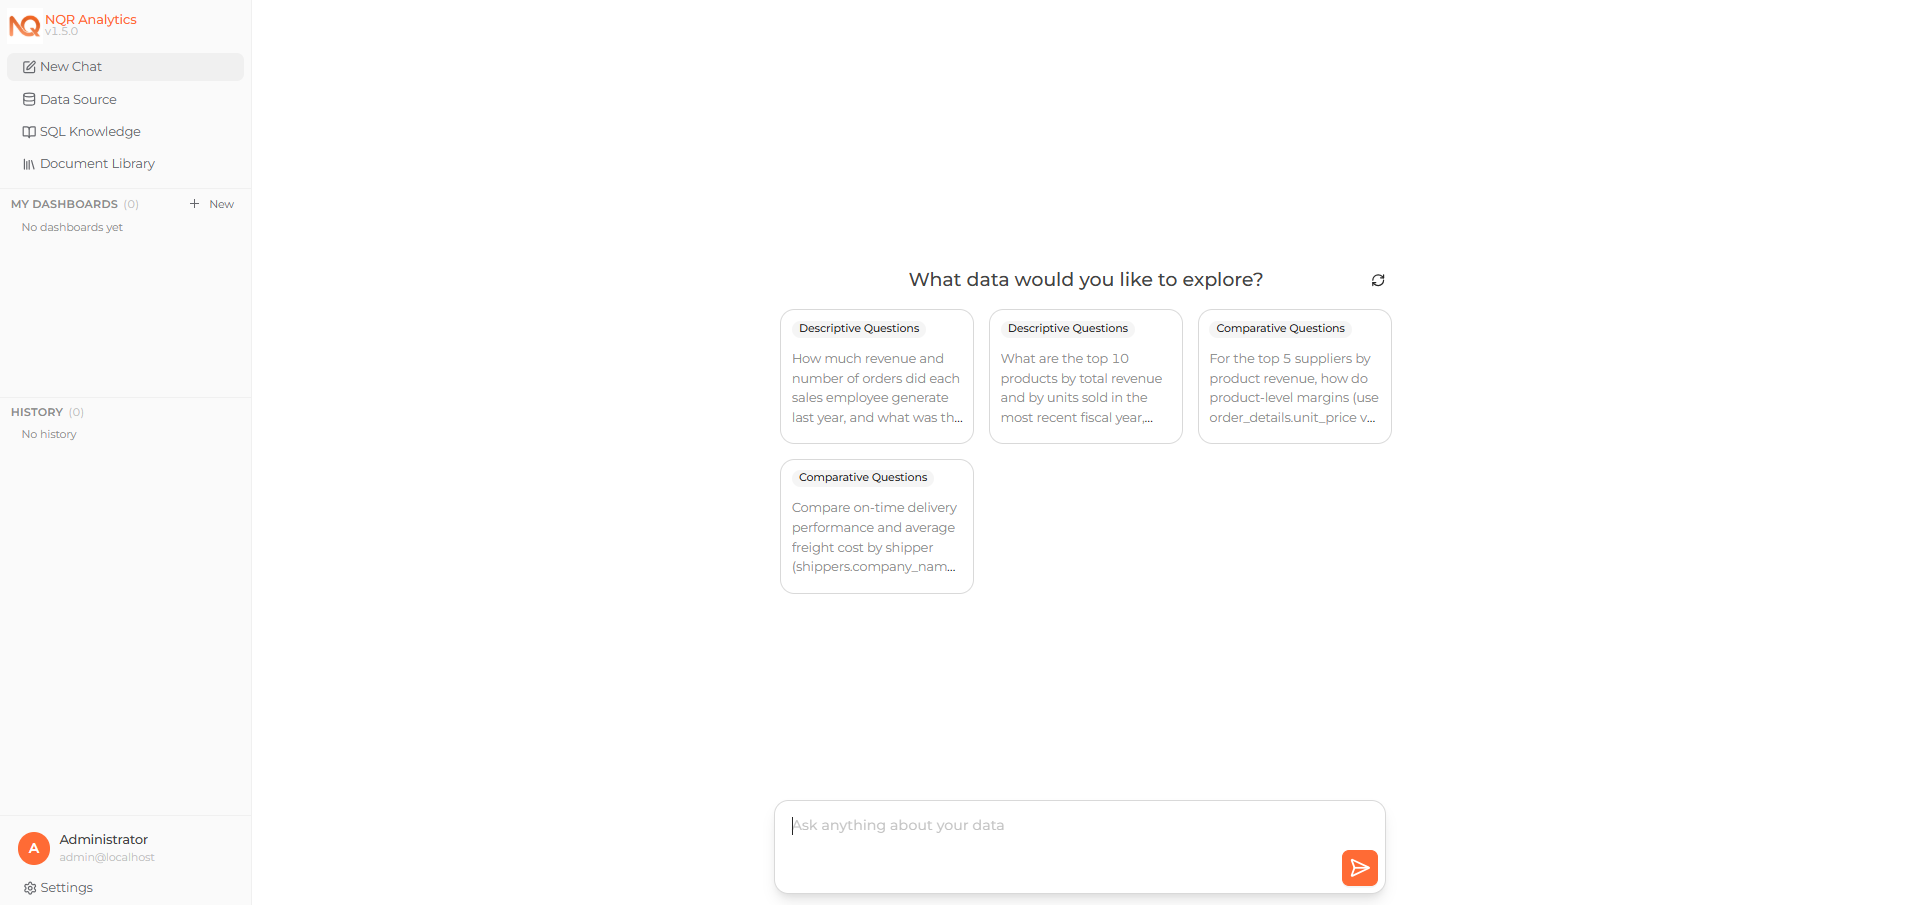 Asking a question about the connected data on the Home page