Installation
Deploy the full NQRust Analytics stack with the interactive installer — online, from a release, from source, or fully airgapped.
NQRust Analytics ships as a single interactive installer (nqrust-analytics)
that deploys the entire platform with Docker Compose. This guide covers the
prerequisites, the four installation methods, the installer screens, and the
steps to perform once it finishes.
What gets installed
The installer deploys the complete stack as Docker containers:
| Service | Default port | Role |
|---|---|---|
| Analytics UI | 3000 | Web interface, user management, dashboards |
| Analytics Service | 5555 | AI service — text-to-SQL, answers, charts |
| Analytics Engine | 8080 | Core query processing engine |
| Ibis Server | 8000 | Python data-transformation layer |
| Qdrant | — | Vector database for embeddings |
| Northwind DB | — | PostgreSQL demo database available for immediate exploration |
Authentication is enabled by default: the installer generates a secure
JWT_SECRET, and a default administrator account is created so you can sign
in immediately (see Sign in as the administrator).
Prerequisites
System requirements
- A Linux host (Ubuntu 24.04 LTS or similar is recommended).
- Permission to run Docker (run as
root/sudo, or add your user to thedockergroup). - Approximately 15–40 GB of free disk space, depending on the installation method (the airgapped binary alone is ~3–4 GB).
- A hostname or static IP reachable by the users who will access the application.
Software requirements
- Docker Engine (engine + CLI) — install Docker.
- Docker Compose v2 — invoked as
docker compose(not the legacydocker-compose). - Docker Buildx (BuildKit) — usually bundled with Docker CE.
Two methods require additional tooling:
- Build from source also requires the Rust toolchain and
a GitHub Personal Access Token with the
read:packagesscope to pull images from GitHub Container Registry (ghcr.io). - Airgapped requires a build machine with internet access to produce the bundle; the target machine needs no connectivity.
Install
Select the method that fits your environment. Option A is recommended for most online installations.
Install the latest .deb and put nqrust-analytics on your PATH:
curl -fsSL https://raw.githubusercontent.com/NexusQuantum/installer-NQRust-Analytics/main/scripts/install/install.sh | bashThen launch the installer:
nqrust-analytics installDownload the package
Download the latest .deb from the
Releases
page:
curl -LO https://github.com/NexusQuantum/installer-NQRust-Analytics/releases/latest/download/nqrust-analytics_*.debInstall it
sudo apt install ./nqrust-analytics_*.deb
# or: sudo dpkg -i nqrust-analytics_*.deb
This adds the nqrust-analytics binary to /usr/bin.
Run the installer
nqrust-analytics installClone the repository
git clone https://github.com/NexusQuantum/installer-NQRust-Analytics.git
cd installer-NQRust-Analytics
Authenticate with GitHub Container Registry
docker login ghcr.io
# Username: your-github-username
# Password: your-personal-access-token (NOT your GitHub password)
The token must have the read:packages scope so Docker can pull the
container images.
Run the installer
cargo runFor environments with no internet access, the installer can be packaged as a single self-extracting binary (~3–4 GB) that bundles every Docker image.
Build the bundle (on a machine with internet)
git clone https://github.com/NexusQuantum/installer-NQRust-Analytics.git
cd installer-NQRust-Analytics
git checkout airgapped-single-binary

docker login ghcr.io
./scripts/airgapped/build-single-binary.sh
This produces nqrust-analytics-airgapped and a matching
nqrust-analytics-airgapped.sha256 checksum file.
Transfer to the airgapped machine
Copy both files across via USB, SCP, or physical media:
cp nqrust-analytics-airgapped nqrust-analytics-airgapped.sha256 /media/usb/Verify the checksum
On the target machine, confirm the binary arrived intact:
sha256sum -c nqrust-analytics-airgapped.sha256
# nqrust-analytics-airgapped: OK
If the checksum does not match, do not proceed — re-transfer the file.
Make it executable and run
chmod +x nqrust-analytics-airgapped
./nqrust-analytics-airgapped install
The first run auto-extracts the payload and loads all bundled Docker images, which can take several minutes.
If Docker itself is not installed on the airgapped host, use the offline Docker
installer first — see docs/AIRGAPPED-INSTALLATION.md in the installer repo.
The interactive installer
Running nqrust-analytics install opens a terminal UI that guides you through
configuration. Navigate with the arrow keys, select with Enter, and exit with
Esc or Ctrl+C.
Generate the configuration
On the main screen, the installer checks whether a .env and a config.yaml
already exist. On a fresh install they do not, so select Generate config.yaml
to begin the guided setup.
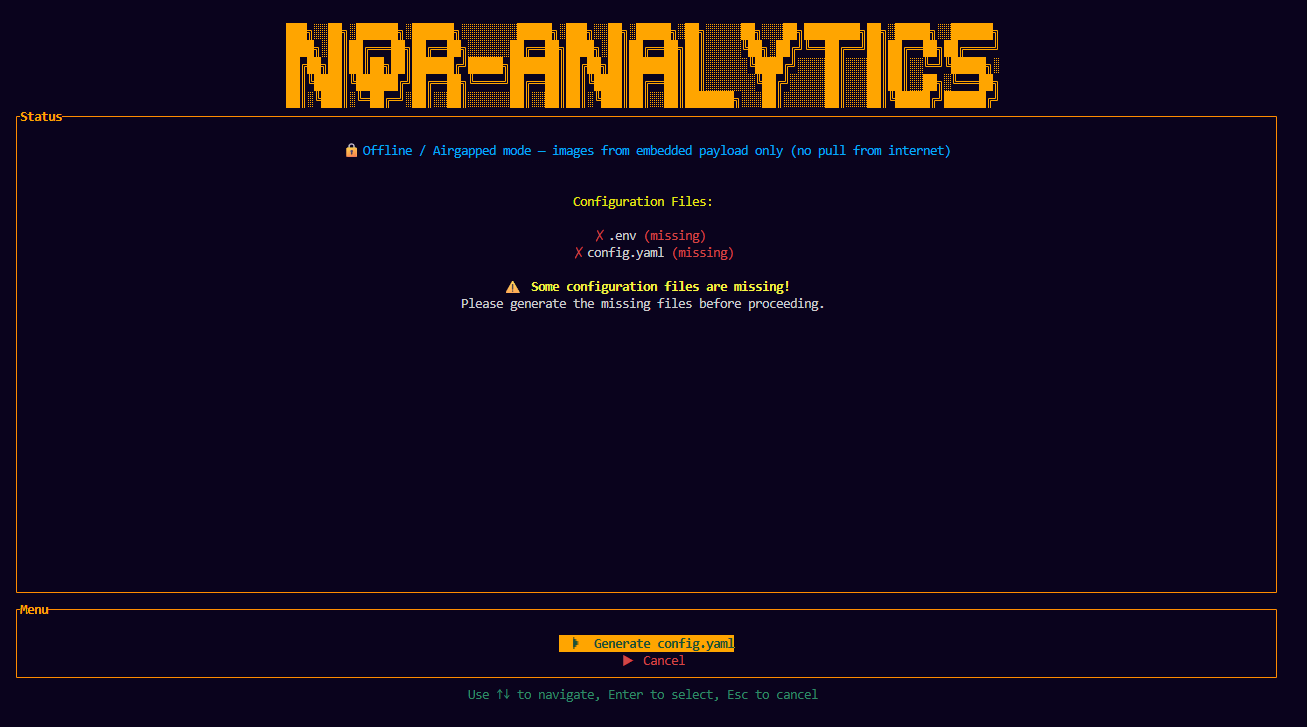 The installer main screen showing the .env and config.yaml status
Choose an LLM provider
The installer lists the bundled provider templates. Select the one you want to use:
OpenAI, Anthropic, Azure OpenAI, Google (AI Studio & Vertex AI), AWS Bedrock, DeepSeek, xAI Grok, Groq, Qwen3, Zhipu, OpenRouter, Ollama, LM Studio, and a generic local-LLM template.
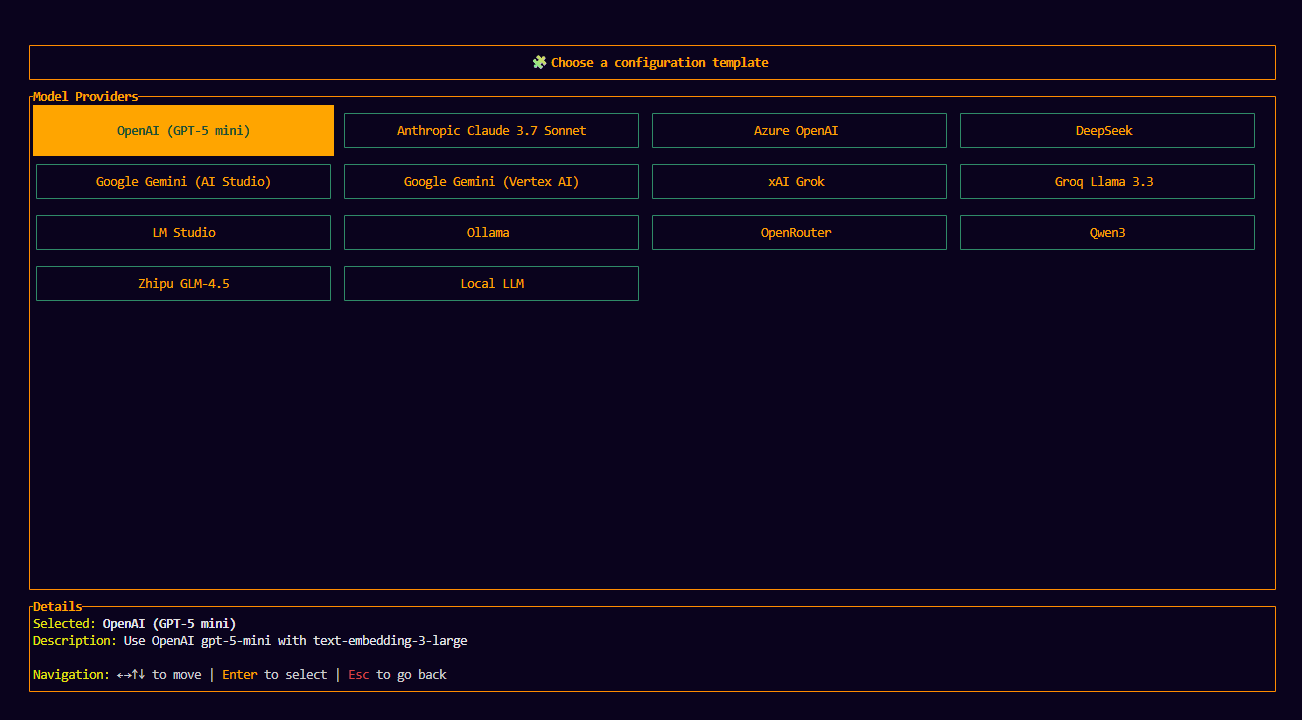 Selecting an LLM provider template from the installer list
Enter the provider API key
Provide the API key for the provider you selected. Local providers such as Ollama or LM Studio may not require a key.
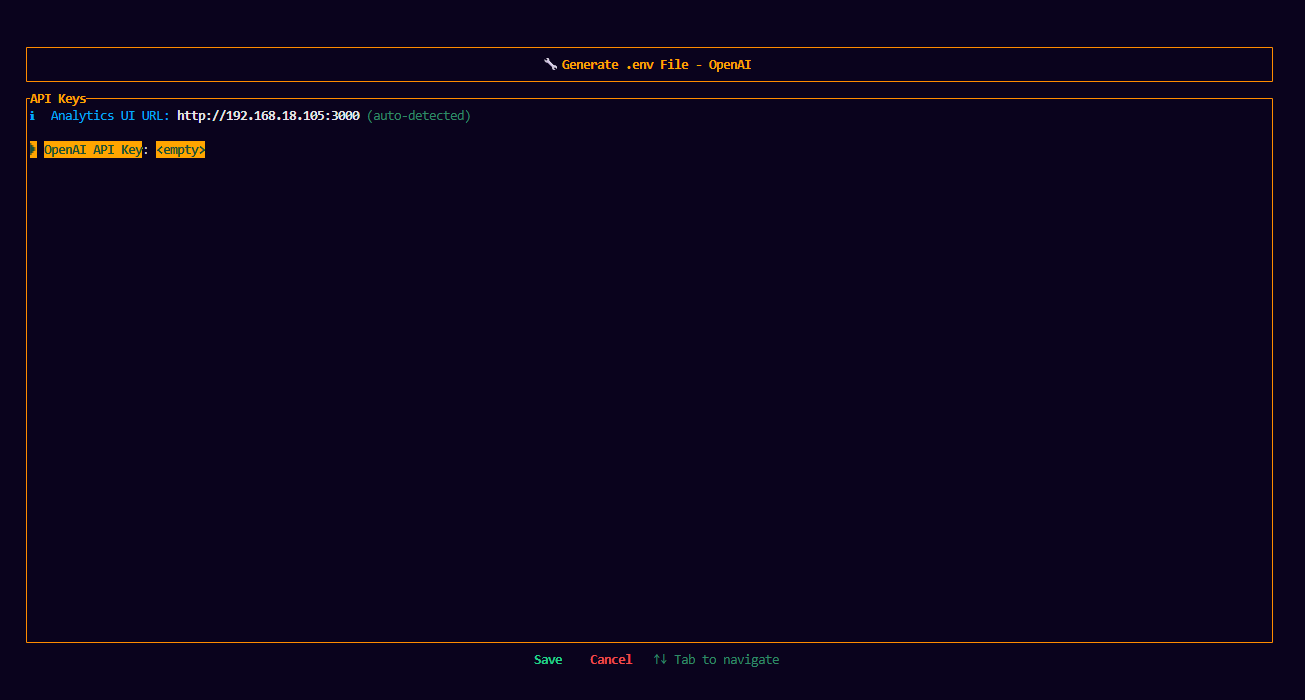 Entering the API key for the selected provider
Save the configuration
Select Save from the menu (or Cancel to discard). The installer writes
both .env and config.yaml — generating a secure JWT_SECRET for
authentication in the process — and returns you to the main screen.
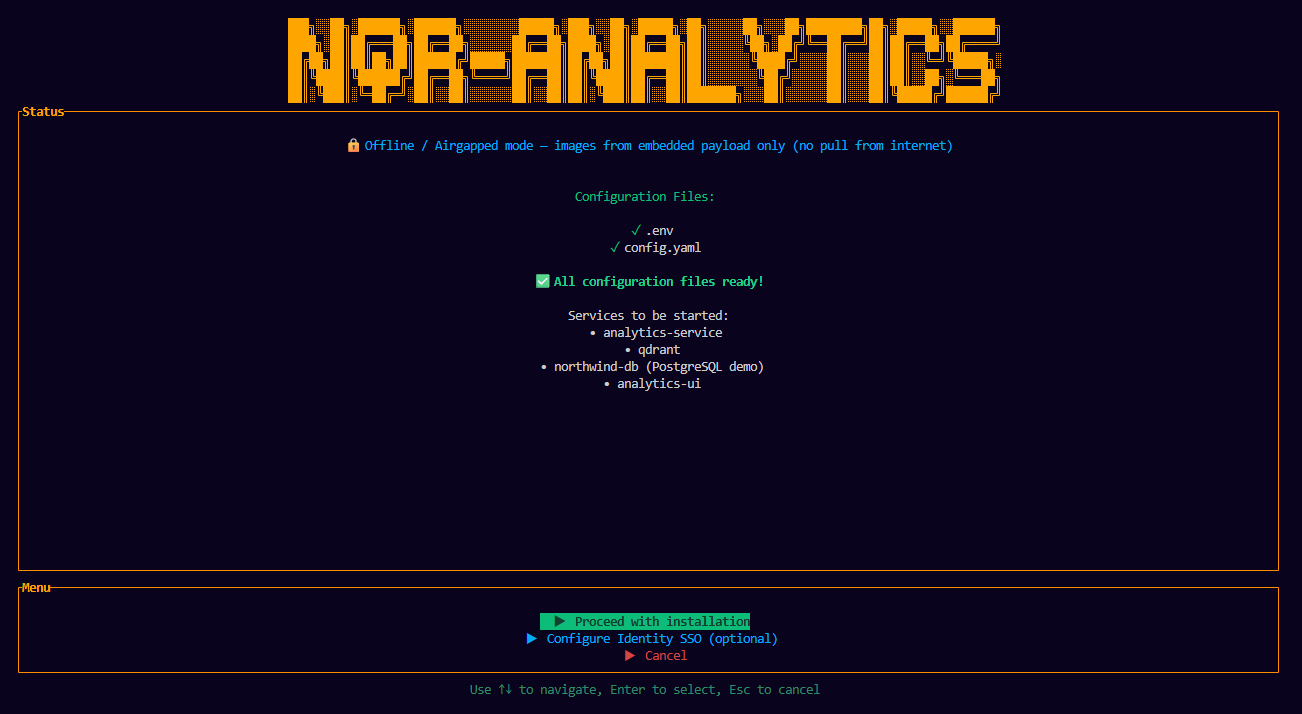
Proceed with installation
Now that .env and config.yaml exist, the main-screen option changes to
Proceed with installation. Select it to begin. The installer streams the
Docker Compose operations with per-service status; wait until it completes.
The main menu also offers Configure Identity SSO (optional) to enable single sign-on before you proceed — see Single Sign-On.
 The installation progress screen with the per-service status
Installation complete
On success, the installer displays the result and full logs. The platform is now running and ready to use.
Post-installation setup
Open the application
Open http://<server-host>:3000 in your browser, where <server-host> is your
server's IP address or hostname.
If you are browsing from the server itself, http://localhost:3000 also works.
To reach the application from other machines, use the server's IP address or
hostname instead of localhost.
Activate the license
On first launch, the License Activation screen appears. Accept the End User
License Agreement (EULA), enter the license key provided by the NQRust team, and
select Activate License. For an offline deployment, upload a signed .lic
file instead. You can review the license later under Settings → License.
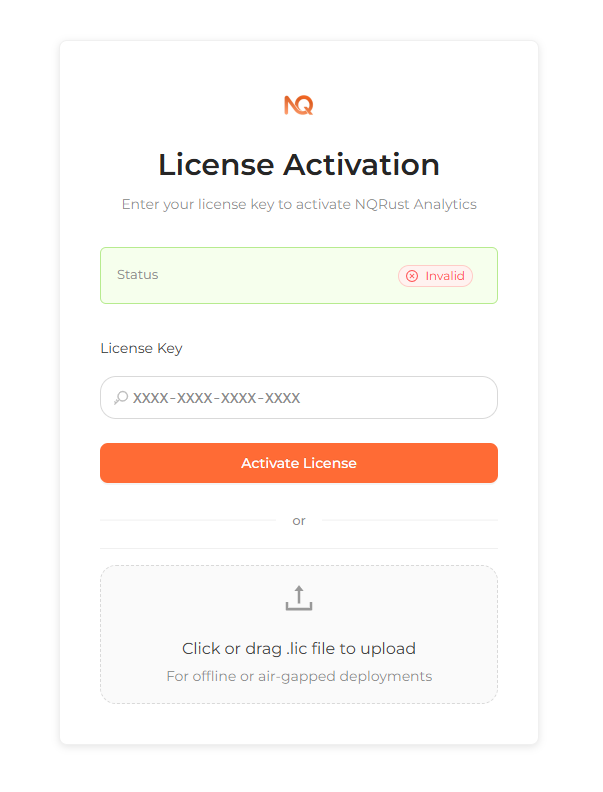 The License Activation screen with the EULA agreement and the license key field
Sign in as the administrator
A default administrator account is created during setup:
email: admin@localhost
password: admin123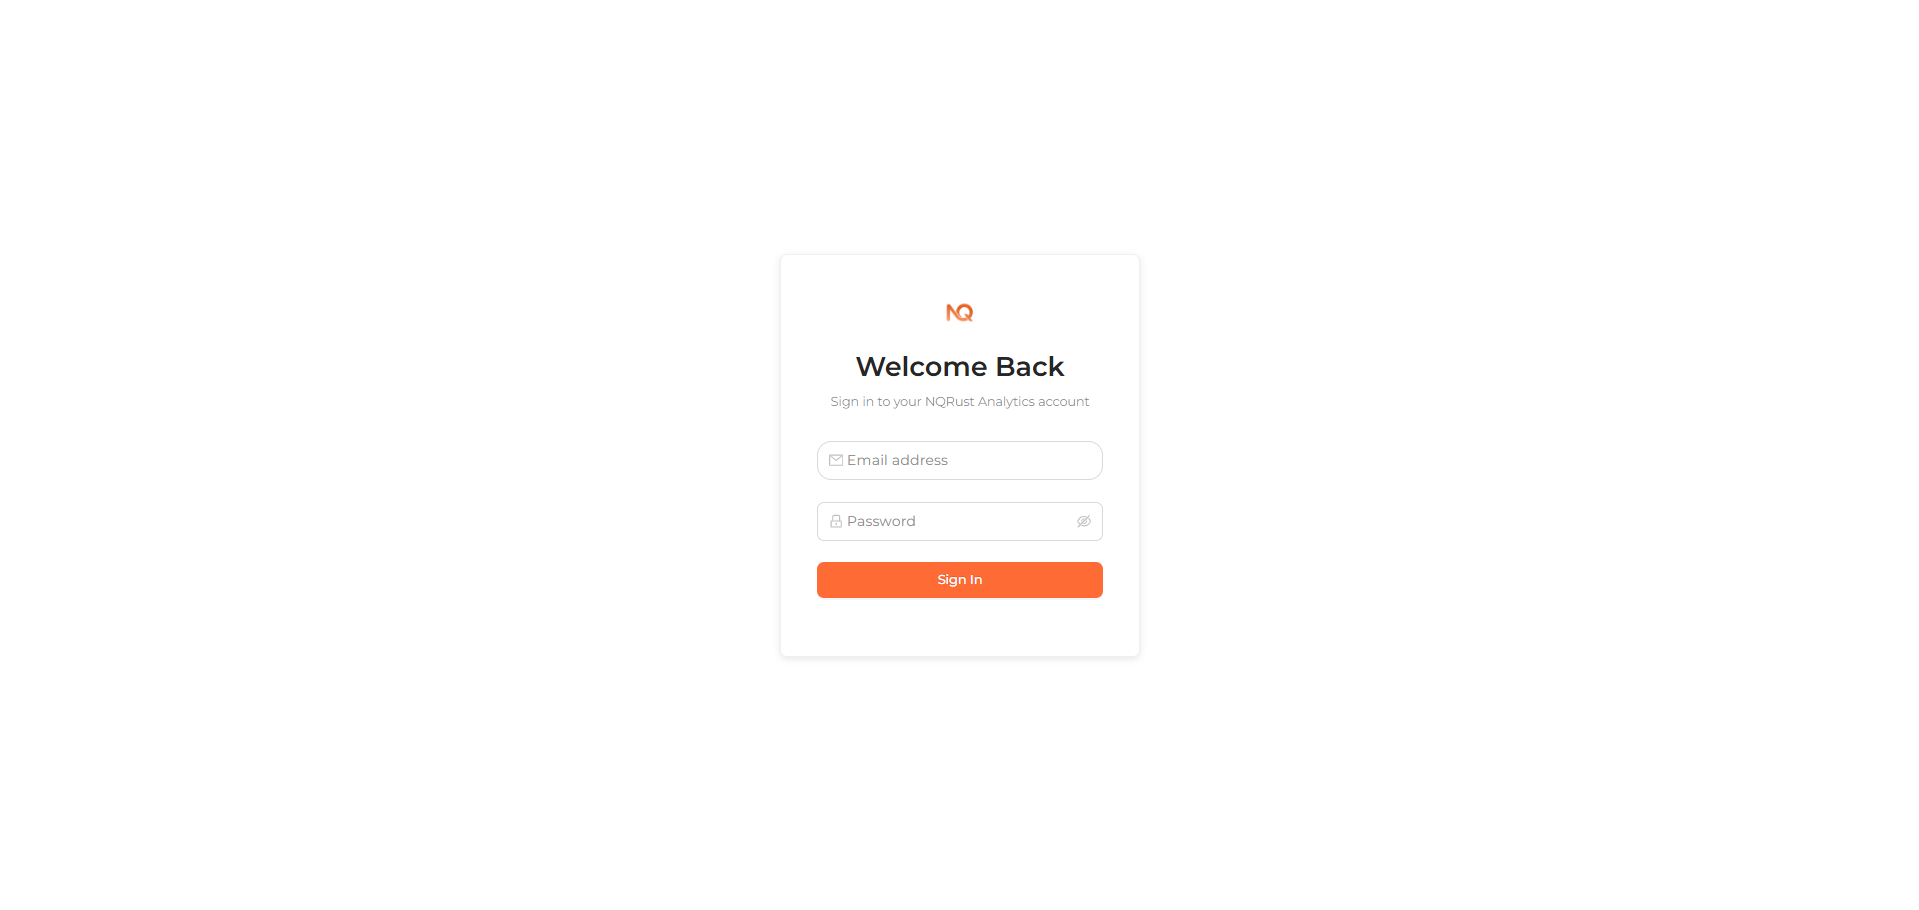 The Analytics UI sign-in screen
Change this password immediately after your first sign-in. Additional users are created by an administrator from the User Management page — see Accounts & Sign-in.
(Optional) Enable single sign-on
In addition to email/password, you can enable NQRust Identity (SSO)
from the installer's Configure Identity SSO screen (protocol, host, port,
realm, client ID/secret, default role, auto-register). To change it later, re-run
the installer — update the SSO settings (or edit the KEYCLOAK_* variables in
.env) — and select Proceed with installation to apply the change.
See Single Sign-On for the full form and variable reference.
Create your first dashboard
From the Home page, create a dashboard and ask questions in natural language against the demo data, or connect your own data source.
Invite your team
Share dashboards (view or edit) and chat threads with other users to collaborate.
To connect your own database instead of the demo, continue to the data source connection guides.